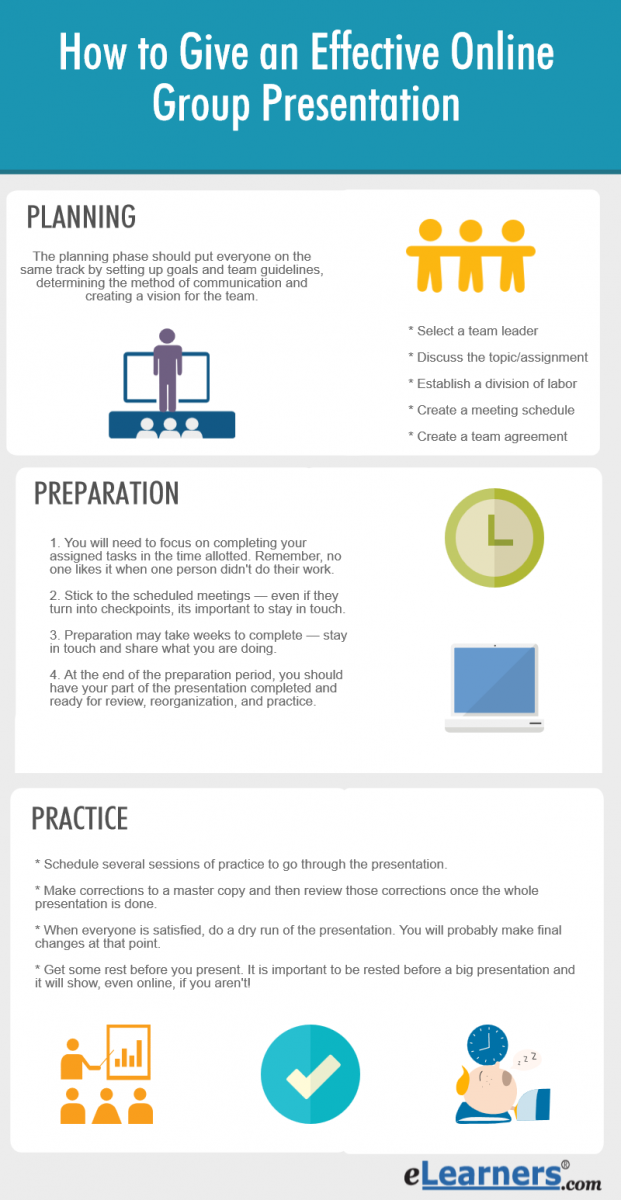
There are three phases when developing an effective online group presentation. These phases are part of all presentations. If you are doing a presentation on your own, you naturally follow this process. If you are in an online class and have a group project ending in a presentation, you need to pay particular attention to each of these phases.
- Planning
- Preparation
- Practice

Planning an Online group Presentation
The planning phase should put everyone on the team on same track by setting up goals, setting up team guidelines, determining the method of communication, and creating a vision for the team. The vision is usually created when the team develops a team name.
Schedule a meeting as soon as your group is assigned. This can be by chat room, discussion board, or even conference call. This is meeting your first planning meeting.
Every good meeting has outcomes and your team's first planning meeting should include:
- Selecting a team leader — the team leader will be responsible for making sure everyone does their part, communicates with the instructor on team questions and concerns, and keeps the master documents.
- Next, you should begin to understand the topic and assignment. Your team should discuss, discuss, and then discuss some more. In this part of the meeting, everyone should have a chance to talk about the parameters of the assignment, the details they know (especially if it is a case based assignment), and personal issues and preferences. You will want to know if your team members can't meet on certain days or nights, or if someone really doesn't understand the assignment. You should all be on the same page and have a clear idea of where you are headed when you are done with this discussion.
- Your team should create a clear picture of the presentation — use a whiteboard if possible to create an outline or assign someone to take notes and send them to the group afterwards.
- You should then establish a table with the division of labor and assign names — it is important to know from the beginning who is going to do what in the project.
- Create a schedule of future meetings and what is to be accomplished in each.
- Finally, your team should create a team charter or agreement. The team agreement should outline the future meeting dates, times, and location (chat room, conference call) and the assignments and responsibilities. Don't forget to include the penalties for those who don't do their work. It will be a lifesaver if there is ever a team dispute and instructors respect teams who follow their agreements. This should be sent to everyone and then signed and turned into the team leader (or your professor if required) to help with future disputes. You can use return e-mail to indicate that it has been signed or digital signatures, if you have them set up.
Preparation
The second phase of the project should be preparation. Most of this work will be done individually, although there will be important checkpoints for you to connect with your team.
- You will need to focus on completing your assigned tasks in the time allotted. Remember, no one likes it when one person didn't do their work.
- Stick to the scheduled meetings — even if they turn into checkpoints, its important to stay in touch.
- Preparation may take weeks to complete — stay in touch and share what you are doing.
- At the end of the preparation period, you should have your part of the presentation completed and ready for review, reorganization, and practice.
Practice
The final phase is practice — remember — practice makes perfect. In this phase your team should:
- Schedule several sessions of practice to go through the presentation.
- In the first session, critically analyze your order, the content and look of slides (if you use them), and the presentation. Make corrections to a master copy and then review those corrections once the whole presentation is done.
- In the next sessions, continue to go through the presentation to make sure it is timed right and has all the ingredients specified in the assignment.
- When everyone is satisfied, do a dry run of the presentation. You will probably make final changes at that point.
- Do another dry run. Its important to run through what you think is right every time you make changes.
- To help you make sure everything is running smoothly, use the "Presentation Do List" as a checklist.
- Get some rest before you present. It is important to be rested before a big presentation and it will show, even online, if you aren't!
Presentation Do List
- Do know your material. Reading a script is very obvious and let's face it, anyone can read a script!
- Do assign someone as timekeeper and have a signal in case someone runs over. You can ring their cell phone or send a private chat room message to let them know.
- Do practice on your own so you don't use filler words like "uh," "um," "okay," "like," etc. These are distracting.
- Do know the order of the presenters. It is painful to have a team fumble around discussing who is doing what next.
- Do address the listeners occasionally to make sure they are still listening. Phrases like "How does that sound?" "Are you still with me?" Give the listeners a chance to acknowledge they are listening.
- Do know which person is going to answer questions so there is no fumbling around.
Perfecting an effective presentation can take practice. But, where could you use your new found skill of presenting? You could always check out the multitude of opportunity in careers in Business Administration. The corporate world utilizes group presentations in every day business and online presentations have now become the norm. Good luck in using your new found skill in the future!
