
If you’re a foreign student who is confused about the international student application process you’ve come to the right place! It can be daunting to try and figure out the right way to apply for college in the U.S. so we’re going to help break down things step by step. The good news is that there are thousands of accredited colleges and universities to choose from. As such, there are also a wide range of tuition prices and living costs, depending on the region you decide to study in.
Step One: Research Your Options
Before you begin researching schools it’s important to nail down your goals for your education. This involves asking yourself some questions. What subjects interest you? Will you pursue an undergrad or graduates degree? What type of career do you ultimately want to pursue? When do you want to start studying in the U.S.?
Once you have your priorities laid out, you can begin to look at specific schools. A good place to start is college and university websites, which should outline degree options, application procedures and other helpful information. For a list of schools to check out, go to eLearners’ Featured Schools and Degrees page. You can also search for schools by subject area, location or other criteria at websites like the National Center for Education Statistics – College Navigator, College Board—College Search, EducationUSA and the American Association of Community Colleges – College Finder.
One important thing to keep in mind is that the school you choose must be certified by the Department of Homeland Security’s Student and Exchange Visitor Program (SEVP), which means it is authorized to accept international students. You can search for SEVP-certified schools at the U.S. Department of State’s Study in the States website.
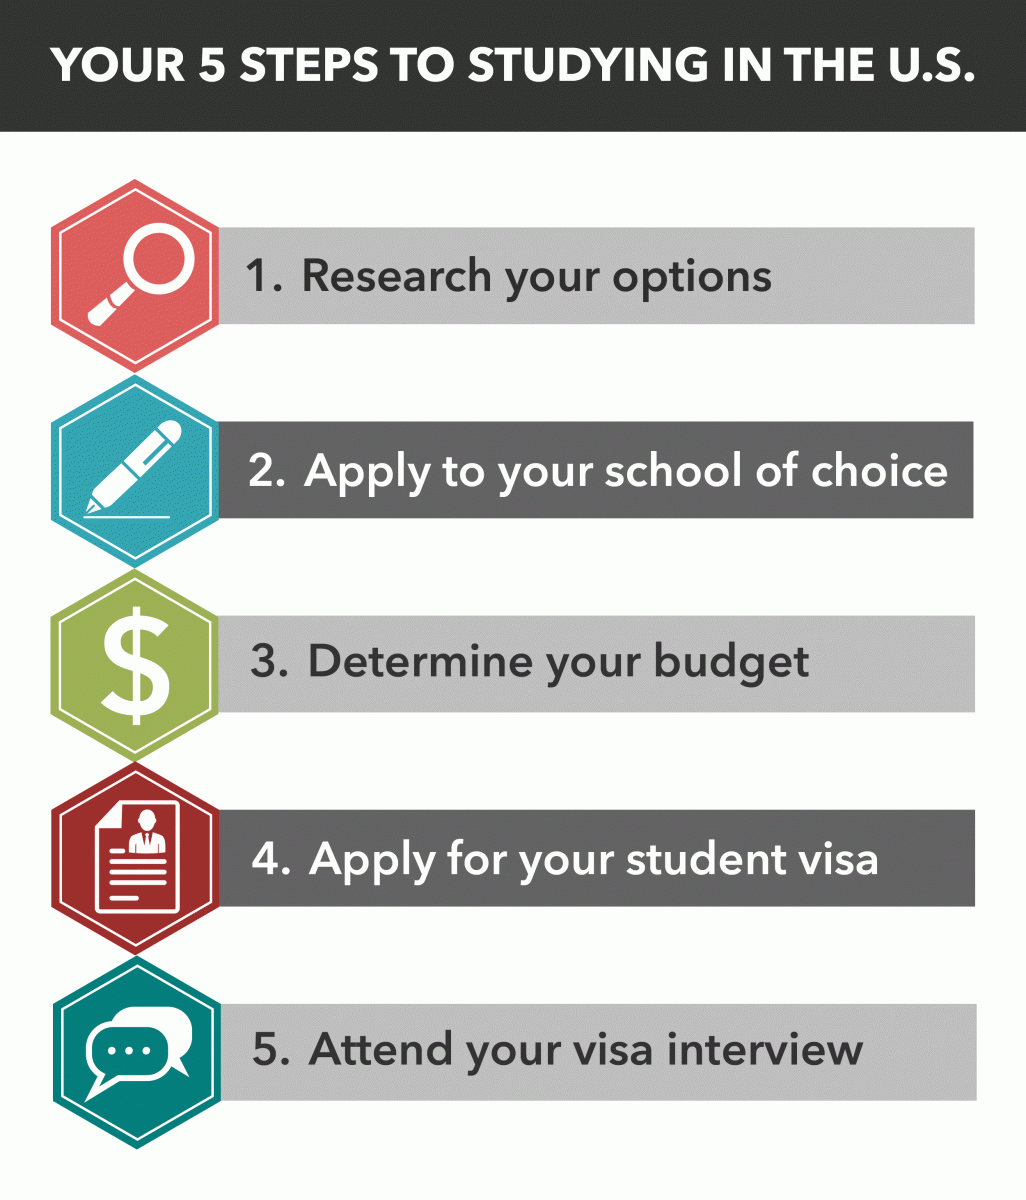
Step Two: Apply to Your School of Choice
Once you’ve made your decision on where you want to apply, you should try and do so as early as possible. Application requirements will vary from school to school so it’s extremely important to review the specific requirements for the school (or schools) you’ve chosen. If you have any questions, consult the international admissions office directly.
Some general applications requirements may include:
- Transcripts: You’ll have to submit your high school diploma and any post-secondary transcripts (if applicable)
- Standardized test scores: You may be required to demonstrate your academic ability and English proficiency through the ACT® and TOEFL® test.
- Recommendation letters: Your letters of recommendation should speak to your work/skills and your potential to excel in your pursuit of a degree.
- Essay: The topic may vary, but usually this is a means to showcase your goals, interests and strengths.
Step Three: Determine Your Budget
Figuring out your budget can be scary, especially for international students. But it doesn’t have to be. There are three major areas to consider when creating your budget:
- Tuition
- Fees
- Living expenses
The key thing to remember is that your tuition and fees will vary depending on the school you attend (and you also need to budget for tuition increases). When it comes to living expenses, the cost of food, housing and other essentials will also vary greatly depending on your location. For example, the cost of living in New York City is going to be significantly higher than the cost of living in rural Ohio.
Another thing to consider is the different financial aid options that may be available to qualified international students. Although you will not be eligible to receive federal student loans, there may still be other options – such as international student scholarships – to help you fund your education if you qualify.
Below are some links to websites that may serve as funding resources for foreign students , if you qualify:
- fundingusstudy.org
- educationus.info/financialaid
- internationalscholarships.com
- globalslc.com
You should also check with your college or university to see if they offer any financial aid programs specifically for international students.
Step Four: Apply for Your Student Visa
Once you’ve been accepted by an SEVP-certified school you must first pay the I-901 Student and Exchange Visitor Information System (SEVIS) fee, before you can apply for a student visa. The U.S. Department of State is responsible for issuing visas in U.S. embassies and consulates. However, it’s important to note that having a student visa does not guarantee that you will be allowed entry into the country.
Below are three possible visas options for eligible foreign students who wish to study in the United States:
- F-1 Visa: For students who are attending a university, college or another academic institution including a language training program.
- M-1 Visa: For students who are attending a vocational or other recognized nonacademic institutions (other than a language training program).
- J-1 Visa: For students who will be participating in an exchange program, including those that provide high school and university study.
- How you apply for your visa may depend on the U.S. Embassy or Consulate you are planning on applying at, so you should review the instructions on the corresponding embassy or consulate website as a starting point.
You may fill out the nonimmigrant visa application (Form DS-160) online here. Remember to print the confirmation page, as you will need to present it at your interview. You’ll also need to upload a photo in the correct format while completing your Form DS-160. Once you’ve filled out your application you should schedule an appointment for your visa interview – the earlier you schedule it the better, as wait times may vary depending on your location.
Step Five: Prepare For and Attend Your Visa Interview
When preparing for your interview it’s a good idea to first review the fee payment instructions on your embassy or consulate website to learn specifics about payment. Then it’s time to gather all of your required documents.
According to the U.S. Department of State, you’ll need to bring the following documents to your visa interview:
- Passport: Must be valid for travel to the United States – for at least six months beyond your period of stay (unless exempt by a country-specific agreement)
- Nonimmigrant Visa Application, Form DS-160 confirmation page
- Application fee payment receipt: If your embassy or consulate requires payment prior to the interview
- Photo: You should have uploaded your photo when you completed the online Form DS-160.
- Certificate of Eligibility for Nonimmigrant (F-1) Student Status-For Academic and Language Students, Form I-20A-B or Certificate of Eligibility for Nonimmigrant (M-1) Student Status for Vocational Students, Form I-20M-N, or Form DS-2019 (J-1) – Your school will send you the correct SEVIS-generated form to bring, depending on which status you are pursing.
Some additional documentation may also be required by your specific embassy or consulate. This may include:
- Transcripts, diplomas, degrees, or certificates from schools you attended
- Scores from tests such as TOEFL, SAT, GRE or GMAT
- Proof of your intent to leave the U.S. once you’ve completed your studies
- Proof of how you will pay for your school, living and travel costs.
At the time of your interview, the consular officer will review your documents and determine if you are qualified for the visa you are applying for. Your fingerprints may also be scanned as part of this process. If your visa is approved you will not be allowed to enter the U.S. earlier than 30 days before your official program start date.